| View previous topic :: View next topic |
| Author |
Topic : "Sea Serpent (step by step tutorial)" |
Heysoos
member
Member #
Joined: 24 Mar 2004
Posts: 294
Location: the New Mexico
|
 Posted: Thu Jun 08, 2006 3:16 pm Posted: Thu Jun 08, 2006 3:16 pm |
 |
 |
Thought I'd show a bit o' my process with this one. Made in photoshop. I kinda cheated tutorial wise as I didn't really save it in stages but I do each step on a seperate layer so I can go back in the history of the piece.
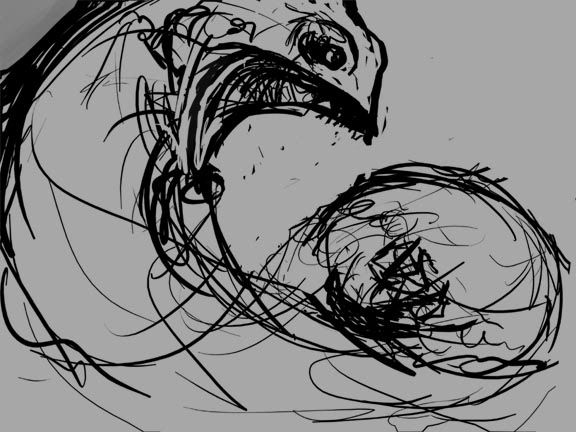
step 1: scribble. I don't always start out this way, sometimes I just go into blocking things out. basically a rough sketch that gets the gist of what I'm going for, I usually have my grid on to show me "the golden rectangle", by going into Photoshop-preferences-grid-set to 33.33333%. I also like to play around with the free transform tool on my sketch at this stage to see how it looks distorted in different ways, that might make it more dynamic.
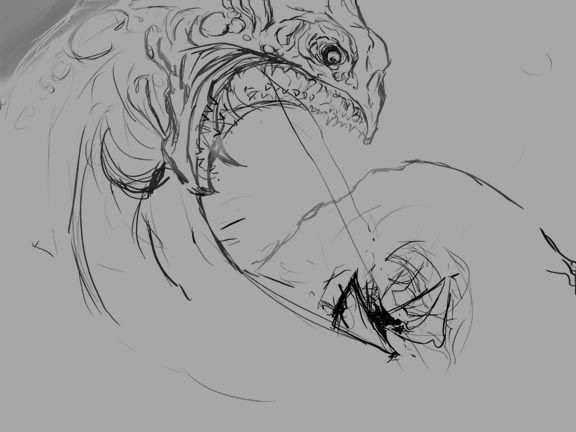
step 2: on a layer over the sketch, I did a more detailed drawing where I tried to figure out the anatomy and all that.
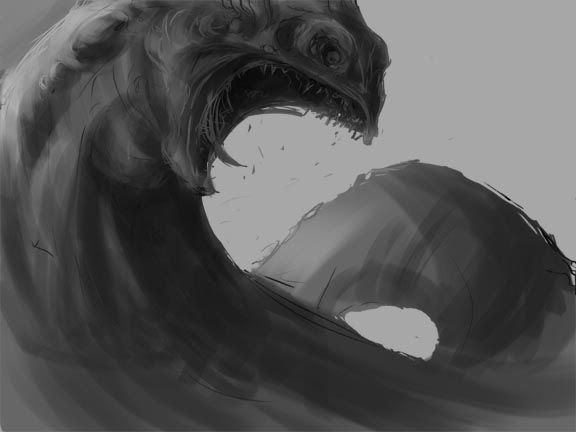
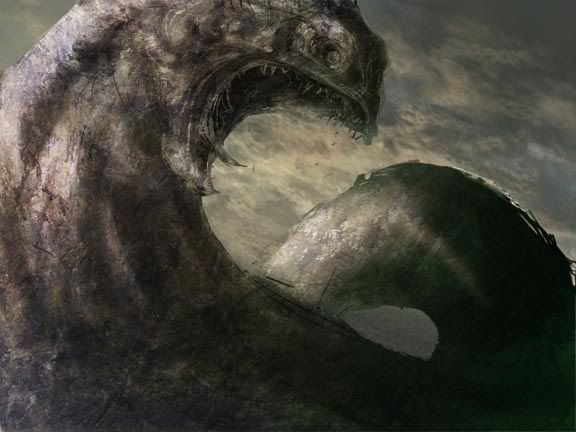
step 3: blockin' in basic value structure, and lighting. The line drawing is kept in there, by freezing the transparency on the drawing layer, I was able to paint the lines to blend in with the values.
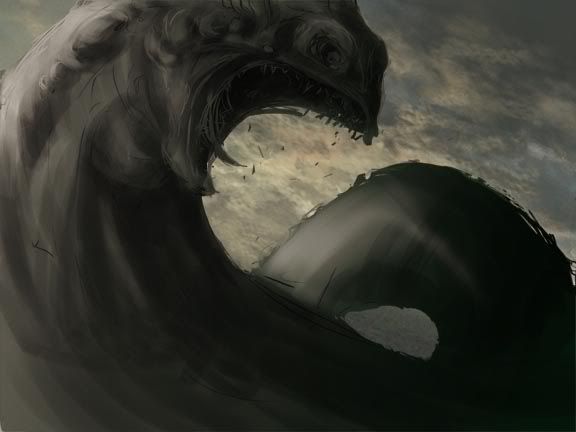
step 4: Added a multiply layer masked ontop of the serpent and did a simple gradation to punch the lighting a bit, used a soft brush on the mask to help support the lighting and shadows.
just straight forward painted the sky, by messing with scattering and opacity in the brush options and using a brushy-lookin brush you can make pretty convincing looking clouds.
step 5: added some texture to the serpent by using a hand painted texture I did with oils and photographing it. I then put it on an overlay layer masked over the serpent, and distorted it, and tweaked the curves and all that till it looked right. I did that with several layers, shrinking down the texture where I wanted tighter lookin detail and such.
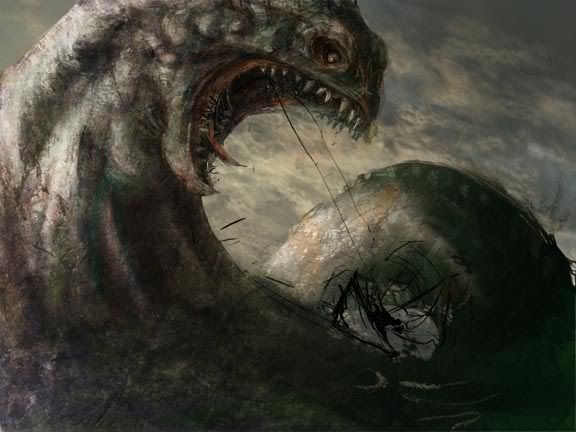
step 6: Did a multiply layer do add some more shadows, a color layer to give some skin tones, and a normal paint layer to add details, highlights, correct some areas and so on.
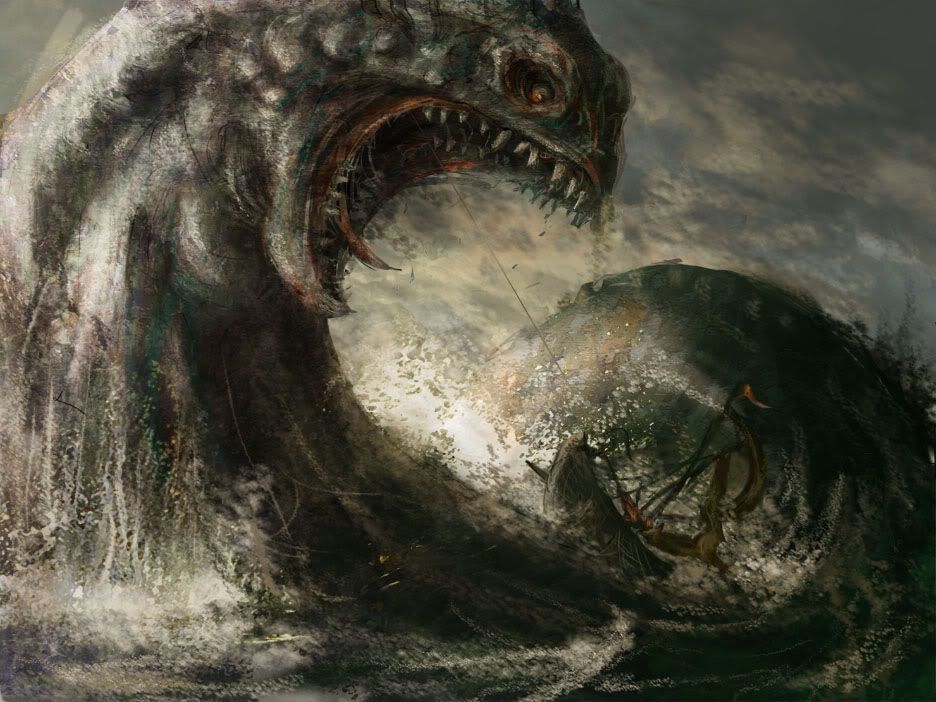
final: did the fishing boat pretty straight forward painting. Looked at some pictures of whales breaching to get an idea of how the water should look. Painted the water messing around a lot with brush settings: scatter effects, opacity, size jitter, texture, etc.
well thats it, I hope thats helpful to someone. tell me what you think.

_________________
http://www.angelfire.com/art2/wfkeil |
|
| Back to top |
|
shin
member
Member #
Joined: 08 Jun 2002
Posts: 98
Location: taiwan
|
| Posted: Thu Jun 08, 2006 8:14 pm |
|
|
very powerful~~~
and nice tutorial
www.venushin.com |
|
| Back to top |
|
Baiku
junior member
Member #
Joined: 28 Jun 2006
Posts: 5
|
| Posted: Thu Jun 29, 2006 11:26 am |
|
|
looks like you could have done this with real paint.. awesome
_________________
My dad told me to fill my mouth with chick peas!
I can't BREATHE! my mouth is filled with CHICK PEAS! |
|
| Back to top |
|
Texas4ever
junior member
Member #
Joined: 27 Jun 2006
Posts: 3
|
| Posted: Thu Jun 29, 2006 5:13 pm |
|
|
| Very nice! |
|
| Back to top |
|
xbrianx
member
Member #
Joined: 30 Jun 2006
Posts: 134
Location: Savannah, GA
|
| Posted: Fri Jun 30, 2006 9:19 am |
|
|
| Great tut, and fimal image. I like the texture of the serpent. |
|
| Back to top |
|
buzzz3d
member
Member #
Joined: 10 Mar 2004
Posts: 134
|
| Posted: Fri Jun 30, 2006 11:49 am |
|
|
Very painterly.
I love the texture in your work, your traditional paintings also. |
|
| Back to top |
|
|


